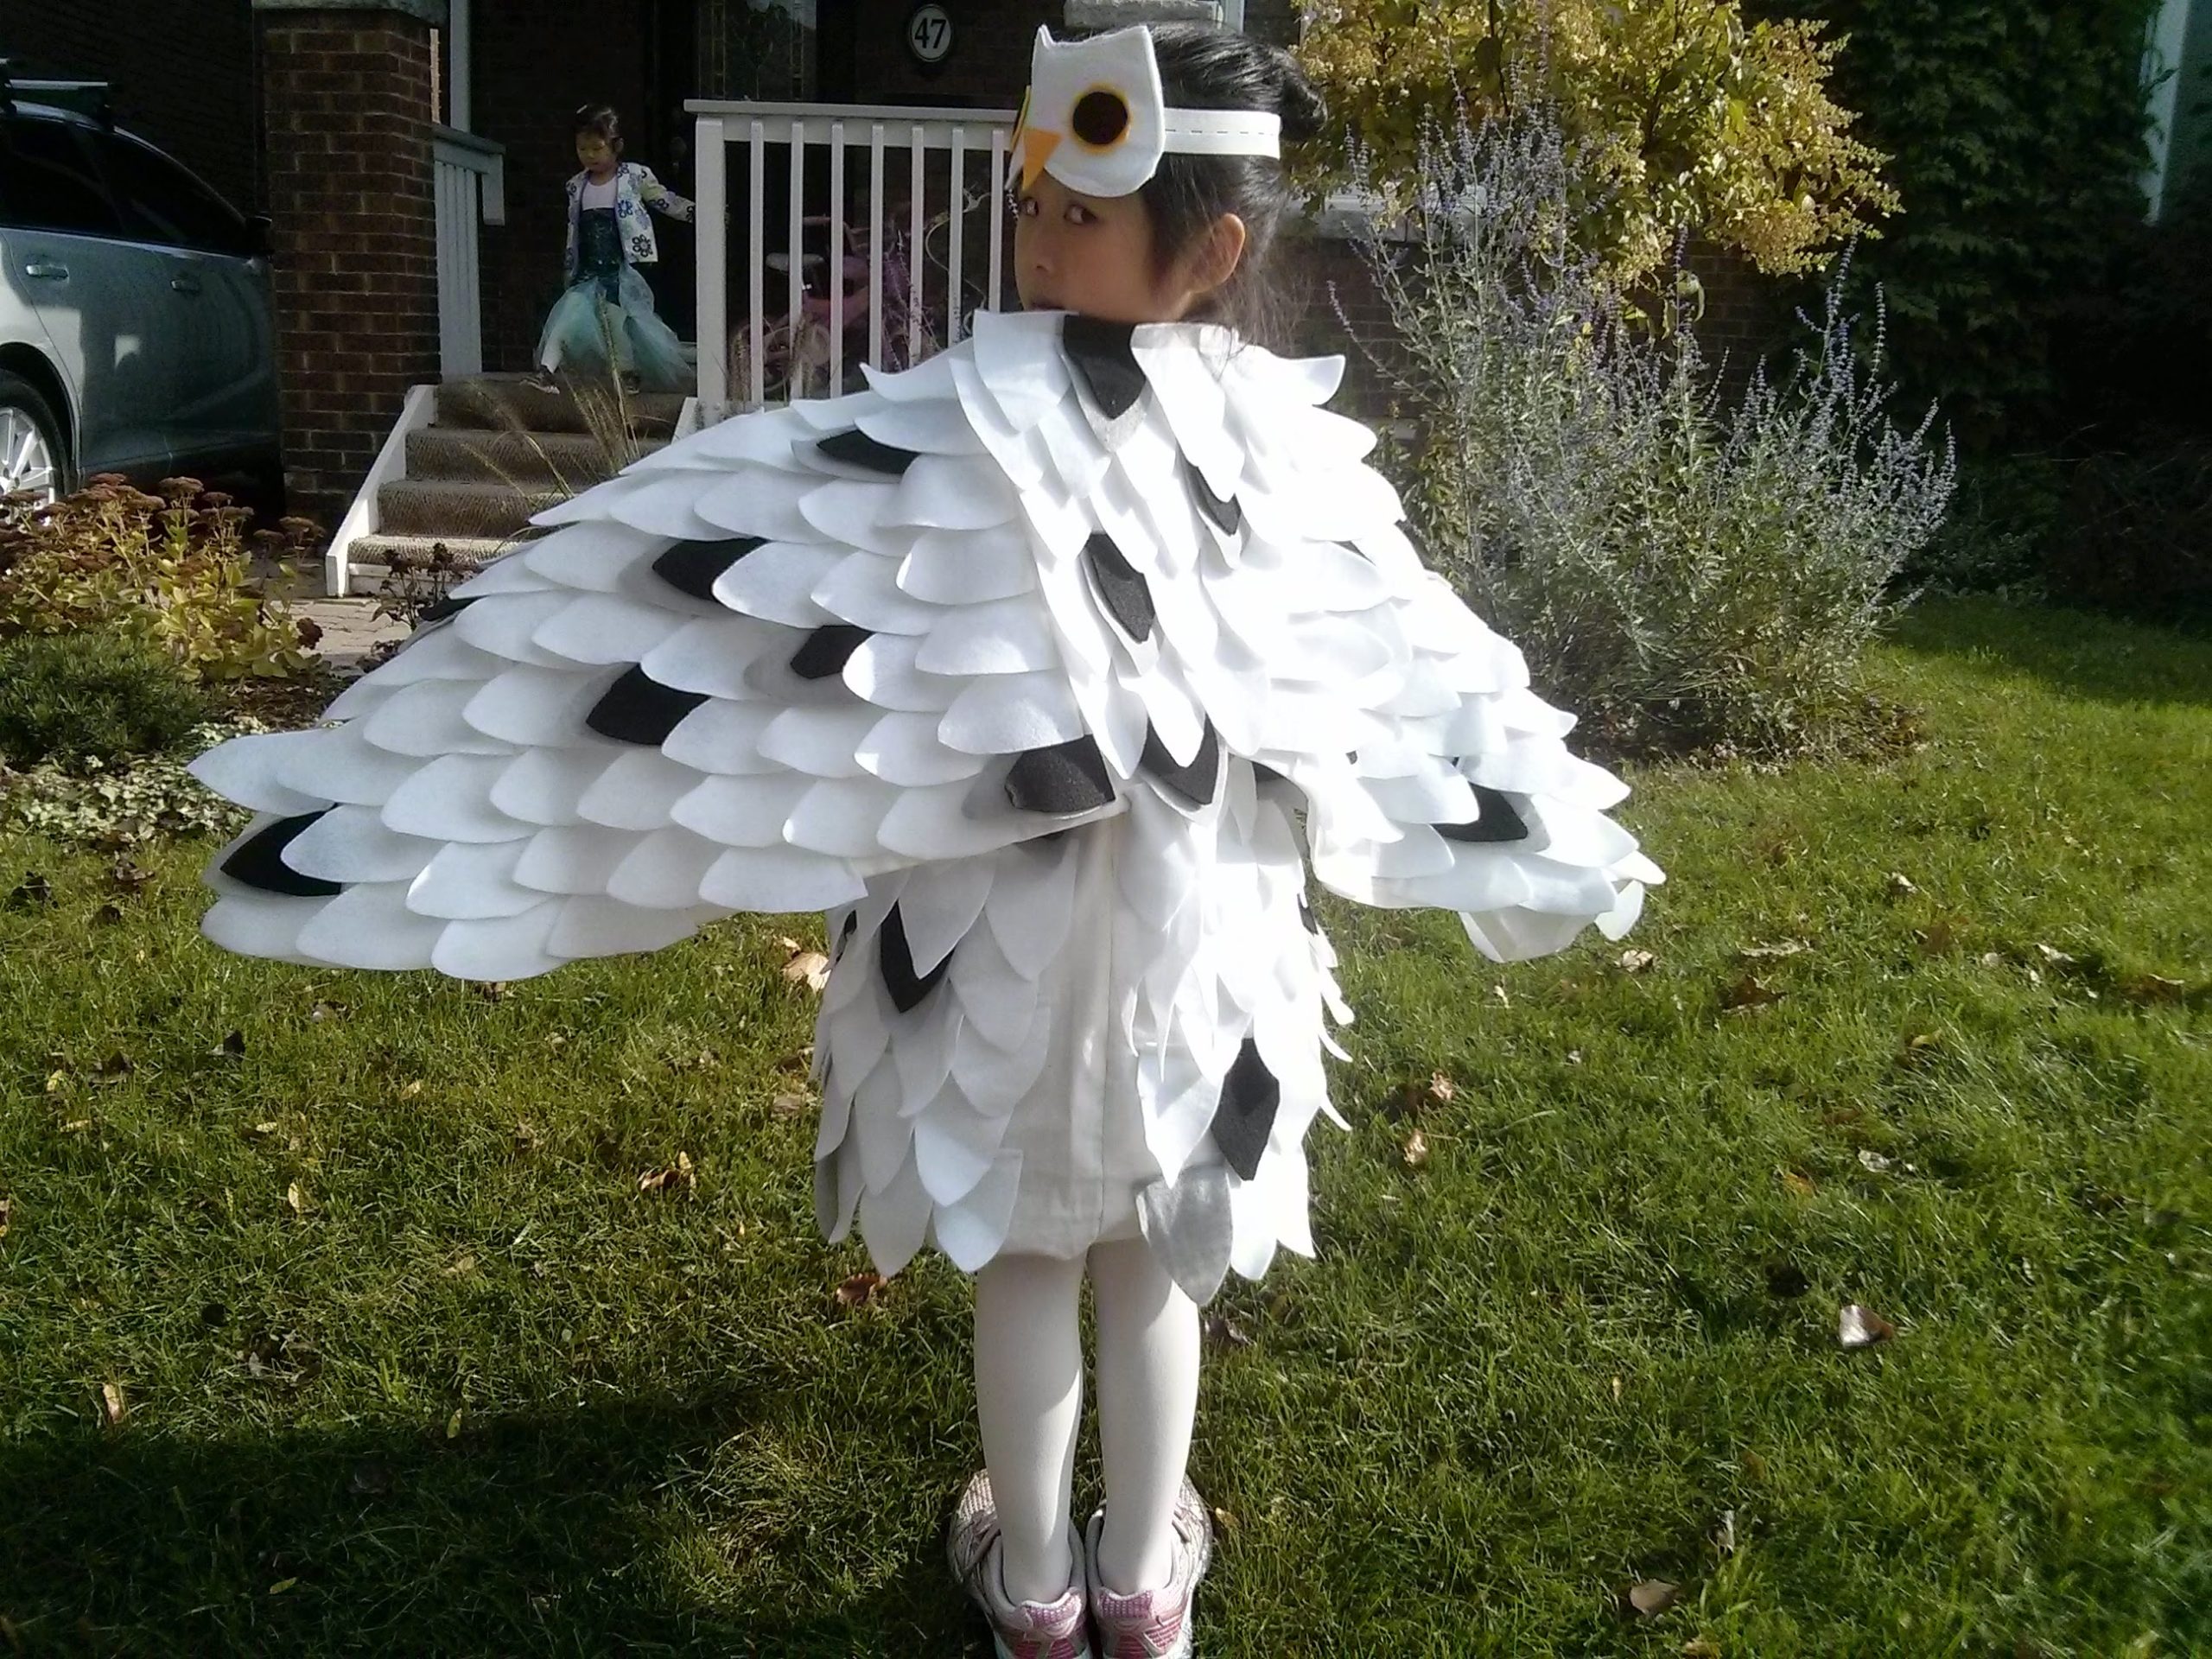
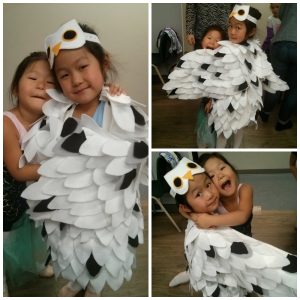
[su_heading size=”14″ align=”left” margin=”10″]The Backstory[/su_heading]
[su_expand more_text=”Show more (i.e. I want to read the rest of the backstory!)” less_text=”Show less (i.e. just get me to the How-to portion!)”]At the start of October, we had a conversation to start planning what costumes the girls wanted for Halloween. E2 wanted to be a mermaid again, reusing our homemade costume from last year. (sweet!). E1 at first wanted to be a fairy princess. *sigh* I’ll bet 80% of the girls in her grade will be a variation of a princess, with a significant portion being Elsa from Frozen. I begged her to reconsider being something else and threw out some random ideas, to all of which she said no.
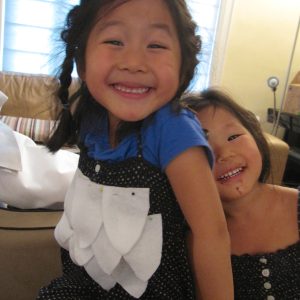
After a few days passed, however, she came to me and said, “I want to be a baby snowy owl for Halloween.” Aha! I think I can work with this! It will can be puffy enough to allow for both mistakes in sewing AND to fit the jacket needed to go trick-or-treating outside in Toronto.
I am not an experienced seamstress by any means. I was originally considering using a glue gun to attach the feathers, but realized sewing would probably be faster, neater and more durable. So off we go to borrow a sewing machine. Prior to this, the last time I sewed with a sewing machine was back in high school home ec class where I made things like pin cushions and shopping bags. But I remembered the techniques, and had the time to plan and figure it out. I did have to spend a couple of hours reading the sewing machine instruction manual to figure out how to thread the machine and fill a bobbin.
The girls and I searched Google images for a couple of hours for ideas on how others have DIY made their owl costumes. I have to give credit to several sources of inspiration for how I ended up with my own design. I decided on making the body of the costume to have a bubble dress shape as it’s base to give a cute roundness. Thanks Google for landing me on this tutorial for sewing a bubble dress that I followed nearly exactly.
[/su_expand]
[su_heading size=”14″ align=”left” margin=”10″]How to DIY Sew my Snowy Owl Costume[/su_heading]
Materials
- 1.5 m of white felt (from the roll)
- 0.25 m of black felt (from the roll)
- 0.25 m of grey felt (from the roll) – optional
- 1.5 to 2.0 m of white cotton twill or jersey. This is for both the body and the wings. [su_note]Mine had a bit of a velour finish and a touch of stretch to it, but I didn’t realize how the feathers would really cover everything. If I had to do it again, I’d save the couple of dollars a meter and gone for a simpler fabric. It shouldn’t be too thin a fabric though as it has to be able to stand up to the weight of the feathers being sewn onto it.[/su_note]
- 0.5 m of any light fabric (for inside of dress)
- small piece of yellow felt
- white thread
- 0.5 m of elastic with buttonholes incorporated (optional)
- 0.75 m of 1/2in elastic
- elastic thread
- smallest bag of batting (i.e. stuffing) – optional
- iron-on interfacing
- 2 large buttons
- 1 small button to fit buttonholes in elastic
- I spent about $40CAD on fabric and materials
Time 20h:
- 4hr research & planning
- 2hr (2 trips) to Fabricland for getting fabric and notions
- 3hr for cutting out feathers
- 5hr for making body
- 5hr for making wings
- 1hr for making headband
It took me this long the first time as I was figuring stuff out, I could probably do it in 12 hr if I had to do it again.
[su_heading size=”12″ align=”left” margin=”5″]The Owl Body[/su_heading]
I used the directions from alidamakes.com for measuring and cutting the fabric, but instead of cutting the two pieces of outer and inner fabric, I just doubled the width and cut one of each.
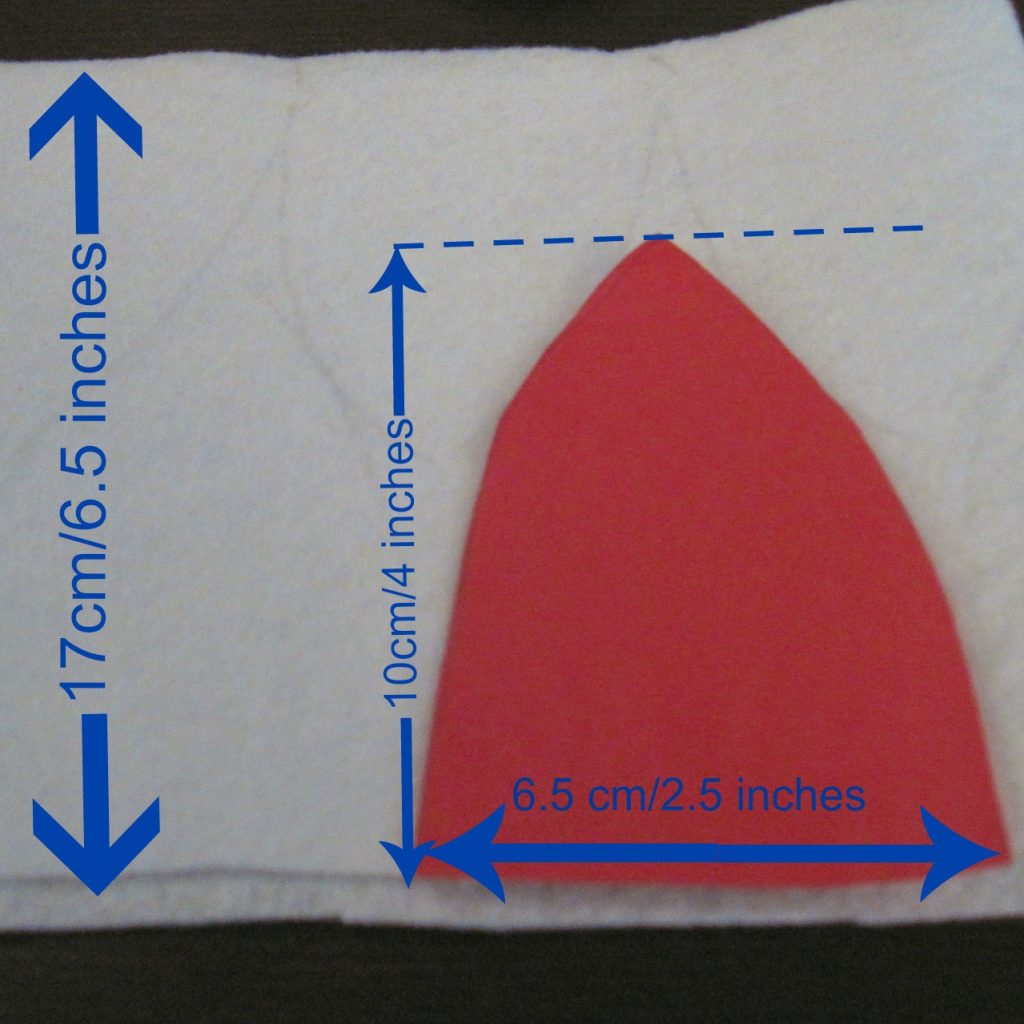
Then I stencilled and cut out a whole bunch of feathers from the white felt. I tried to minimize the amount of felt wasted so I first experimented on paper with the shape. Then when actually working on the felt I would double up the layer of felt so I’d cut two at a time.
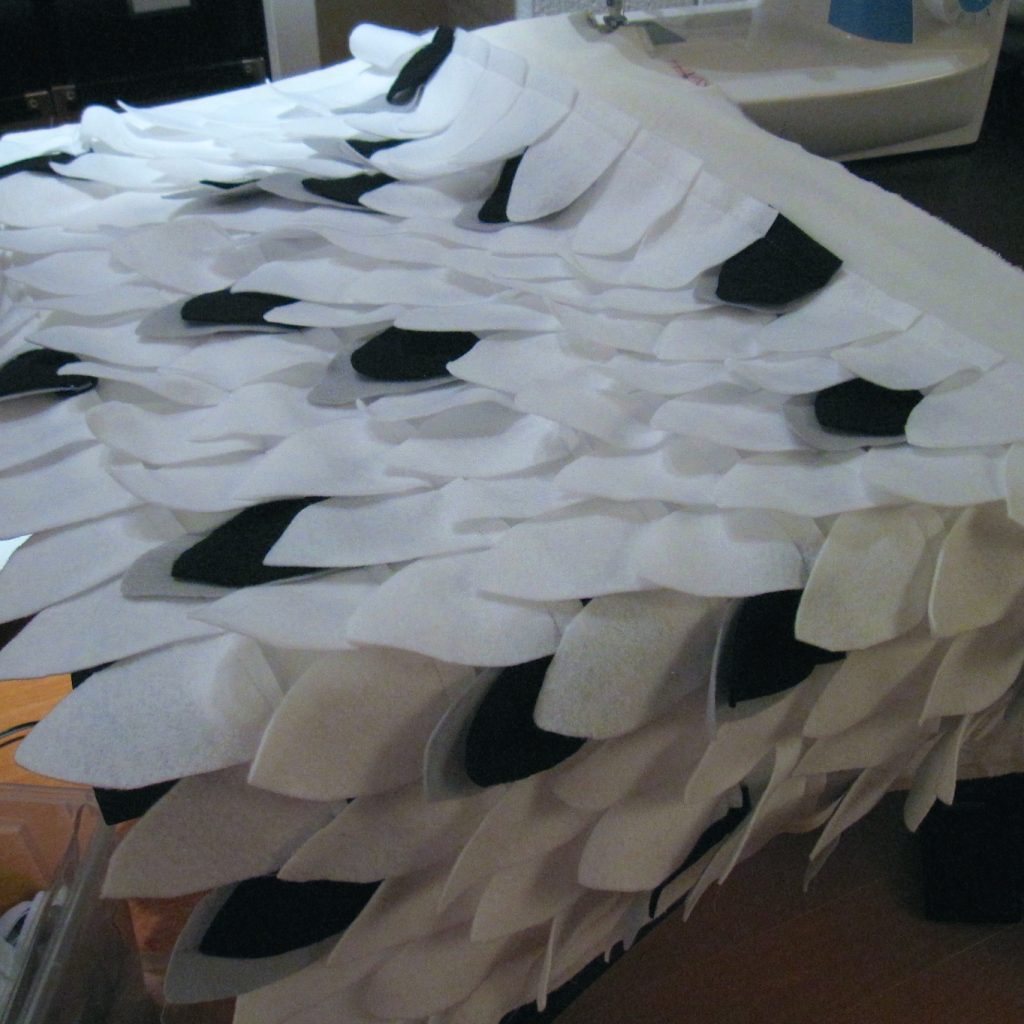
Starting at the bottom of the outer fabric, pin a row of feathers so the tip of the feathers are almost at the edge of the fabric. The bubble part of the dress will pull up the edge of the fabric when it is done. I overlapped the sides of the feathers a bit. Then sew the row of feathers across, about one centimeter from the tops of the feathers. Repeat with the remaining rows until there is about 10cm left from the top. [su_tooltip position=”north” content=”I tried to space out the feathers so I didn’t use a million feathers, but close enough so you don’t see too many gaps. Randomly place in the black and grey feathers so it doesn’t look too planned.”][su_button] Tip[/su_button][/su_tooltip]
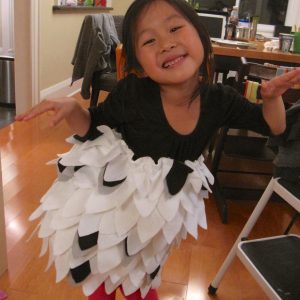
I proceeded to sew the bubble dress as per this tutorial (I had to look up how to do shirring). However, I needed a more significant hole than the 3 inches (8cm) noted for pulling the dress right-side out with all the feathers inside. The hole should probably be at least twice as large. After turning it right-side out, I added a small roll of batting to the inside bottom of the dress before closing up the hole. [su_tooltip position=”north” content=” When it came to putting in the elastic around the top of the dress, I used a safety pin to pin one end of the elastic to the outside of the opening, and another safety pin to the other end to help thread the elastic through the casing.”][su_button] Tip! [/su_button][/su_tooltip]
[su_heading size=”12″ align=”left” margin=”5″]The Wings[/su_heading]
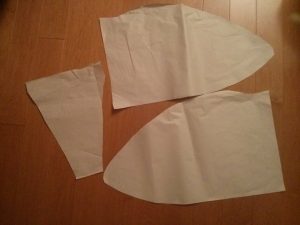
I measured the length of her arms from her mid back to fingertip. This gave me the wingspan. Using large sheets of paper, I drew out a pattern for one wing. Cutting it out, I used it to trace the second wing. After pinning the paper together to test it out, I decided I needed some sort of back piece to bridge the space between the wings, so I came up with this triangular shape.
When tracing the pieces onto the wrong side of the fabric, I included an extra couple of centimeters out from the edge to make the hem. Figuring that the wing shapes might need additional structural support, I ironed on some interfacing where I was going to make the hem, and then used the iron to press the fabric where I wanted to hem it.

Sewed the wing pieces together. At this point I draped the wings over my daughter’s shoulders while she was wearing the body so I could mark where I wanted the buttons to go (on the dress straps) and where the buttonholes would go (on the wings). I also marked where the elastic wrist straps should go.
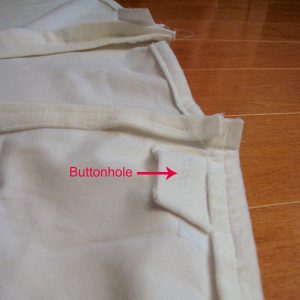
I took 2 small pieces of leftover fabric, used some more iron-on interfacing, and played with the buttonhole feature on the sewing machine to make the reinforced buttonhole. (cool!) I then sewed the buttonhole pieces to the underside of the wings where I marked them, and the corresponding large buttons onto the dress straps.
Sewing on some elastics for the wrist straps finished the base of the wings.
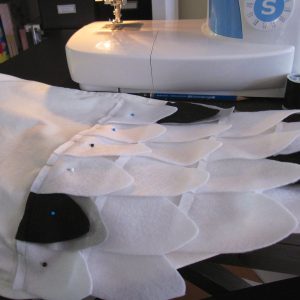
The feathers were then sewed onto the base of the wings using the same pattern as for the body.
My husband and I debated whether the feathers should point toward the tip of the wing (like I did them) or whether they should point towards the tail when the wing is extended (I think this is more accurate?). The back piece I sewed it so the edges of the feathers covered the seam where the wings meet the back piece.
Now the body and wings are done!
[su_heading size=”12″ align=”left” margin=”0″]The Owl face headband[/su_heading]
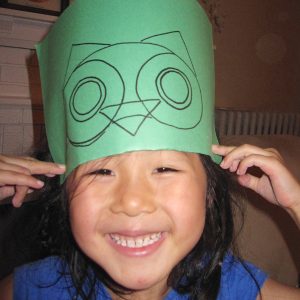
I drew the face out on paper first, using two spools of thread as a stencil to get the nice circles for the yellow and black parts of the eye.
Then I traced and cut 3 layers of the base of the face: one on white felt, one on grey felt, and one on the same fabric as the wings.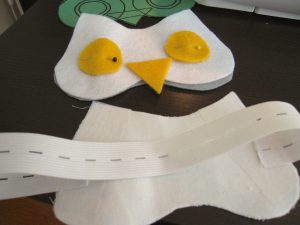
I planned to have the elastic be attached to the stiffer fabric so it can take most of the strain, and then sandwich this layer between the felt pieces. I measured the amount of buttonhole elastic needed with this face piece to be snug around my head, and sewed it on.
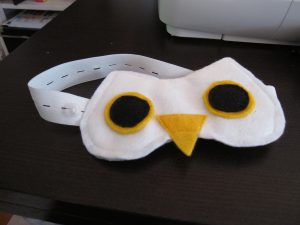
Before sandwiching the pieces together, I sewed the eyes and beak onto the white felt layer. Then I pinned all 3 layers together to minimize the layers sliding around while sewing. Actually, sewing the 3 layers together was a bit of a challenge because most of the sewing I did up until now was in relatively straight lines.
Lastly, I sewed the small button to the elastic right before it meets the face piece, so it can be adjustable for different sized heads.
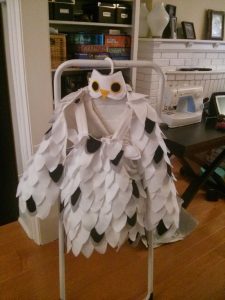
And then the costume was done!
Along the way, I had to redo some things when I realized I made a bad enough mistake, and there are many small mistakes that I didn’t bother fixing because it was good enough. But I am so proud of myself that I kind of feel silly about it. Best of all though is that E1 loves it. Hopefully it will last a long time in our family.
~Jen
